-
DIY Burlap Placemats & Chalkboard Coasters
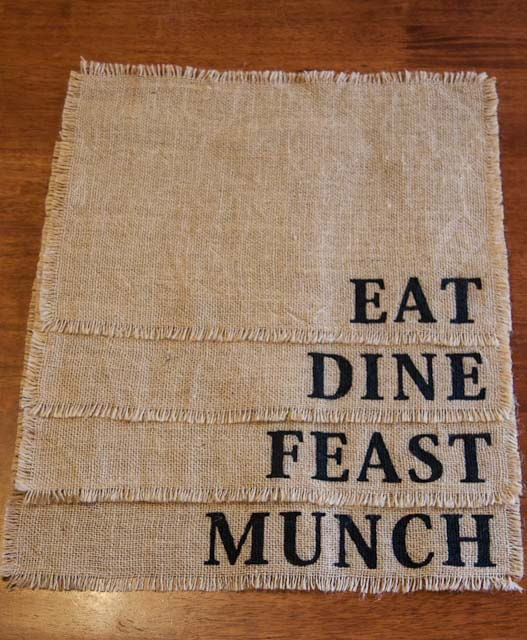
This DIY gift I loved so much, I kept one for myself…Stenciled Burlap Placemats and Chalkboard Coasters. It’s super easy and contributed to my secret goal to incorporate burlap into every room in the house!
I bought some burlap at JoAnn’s and cut it down to 13″ x 17″, an inch wider and longer than I wanted my finished placemat to be. I followed this great tutorial for how to cut burlap in a straight line, and it saved me so much frustration! Then I hand washed the rectangles to get rid of that weird burlap smell and soften their texture just a bit. After ironing them flat again, I did a straight stitch around the edges, 1/2″ from the border, to keep them from fraying. Then I purposely frayed the edges up to the stitching, just to give them a more unified look.
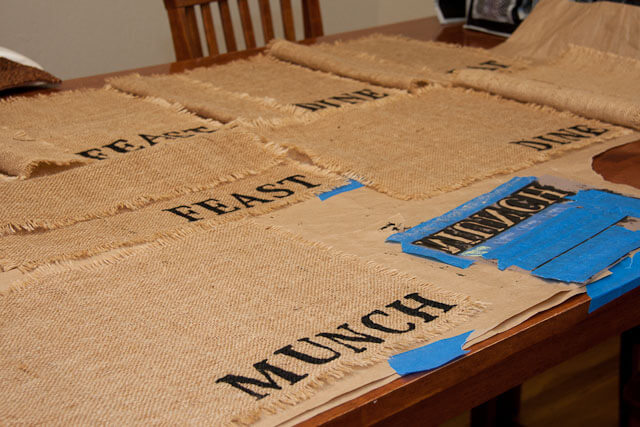
At this point, they were ready to be stenciled. I used my Silhouette to cut the stencils for my words. By cutting out the word, rather than the letters, I didn’t have to worry about messing up the kerning when I stenciled. For once, having very old craft paint was a huge win. My black paint had been left over from my mom’s stash and I’m pretty sure it was purchased somewhere around 1987. It was thick and clumpy, but it worked perfectly to give me very crisp letters. The paint didn’t bleed out from under the stencil edge at all.
I love chalkboard paint! If we didn’t rent our house, I’d probably cover the entire kitchen in chalkboard paint. For this project though, I limited myself to just the coasters. I purchased the cheap tiles at Home Depot (16 cents each) and glued a piece of black felt to the bottom of each with a hot glue gun. Then I gave each coaster two coats of chalkboard paint.
I wanted each coaster to have a toasting phrase and originally planned to stencil that too. But the font was too small and thin for that to work well, so I ended up tracing my stencil in pencil and then painting it free-hand. Despite my shaky hand, I liked how they turned out.

I’m so glad I kept one set for myself. They’re my favorite way to set the table!

-
Living Room Inspiration Ideas
For those of you who follow me on Pinterest, you may have noticed my recent obsession with living rooms. Specifically, living rooms with a Rustic Industrial touch.
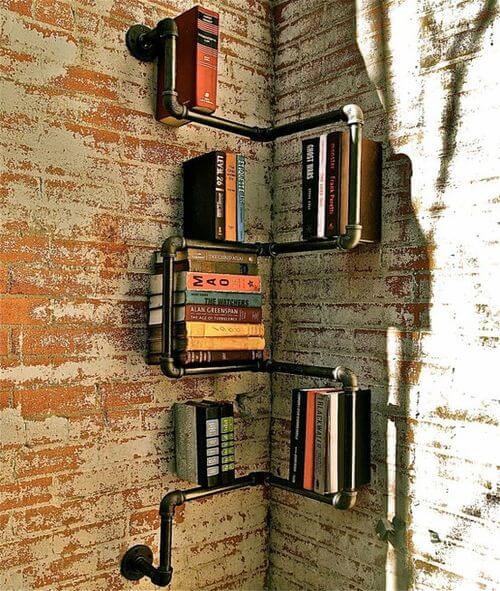
Side note: Can I just tell you how excited I was when I finally realized that was an actual style! My dad’s been calling my taste “Industrial Trash Bin” for years, and come to find out, he wasn’t that far off the mark. 😉
Back to the living rooms…I really want to revamp ours. We’ve lived here 5 years, and although I love the things I’ve managed to do (reupholstering the garage sale chair and the Craigslist chair, the slip-cover for the couch, the frame wall), it’s the stuff I haven’t done that’s driving me crazy. So, I’m looking for inspiration… Requirements so far:
-
Cowhide rug – the rancher’s daughter in me NEEDS it

-
Industrial / Unique lighting

-
Lots of crazy drawers – my all time favorite furniture from Germany is probably out of reach, but a girl can dream…
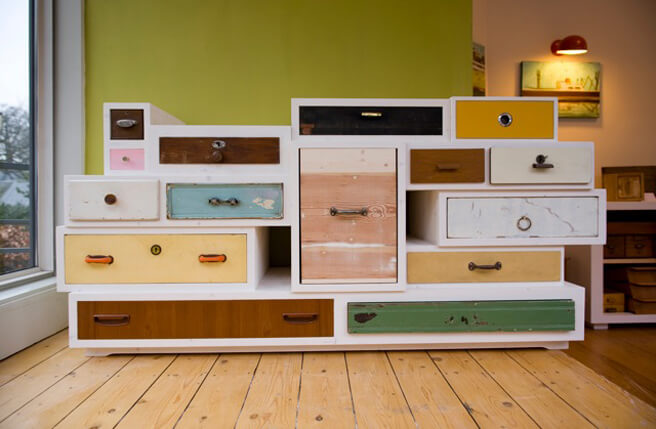
My hope is that with a little paint, creativity and a trip to IKEA, I could do my own version.
IKEA PS 2012 Chest with 5 drawers/1 door IKEA Made of solid wood, which is a durable and warm natural material.
-
Finally, antlers. Kyle has a couple pair from his grandfather, and I am just ACHING to paint them!
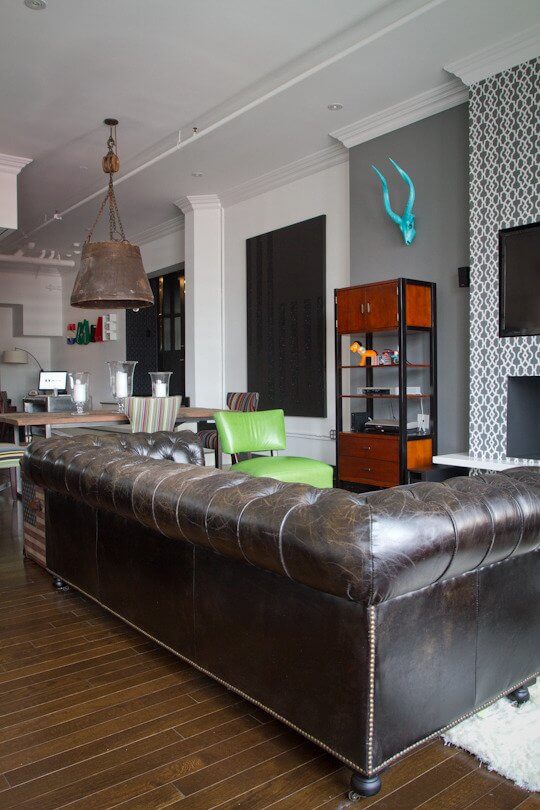
Thoughts?! Send me your ideas…
-
-
DIY Collapsible Dollhouse Reveal
As promised in the BEFORE Post, this is the reveal of Jessie’s newly renovated collapsible dollhouse! After many hours of sanding, cutting, glueing, wall papering, painting, sewing, mod podging (and more mod podging)…it’s finished!
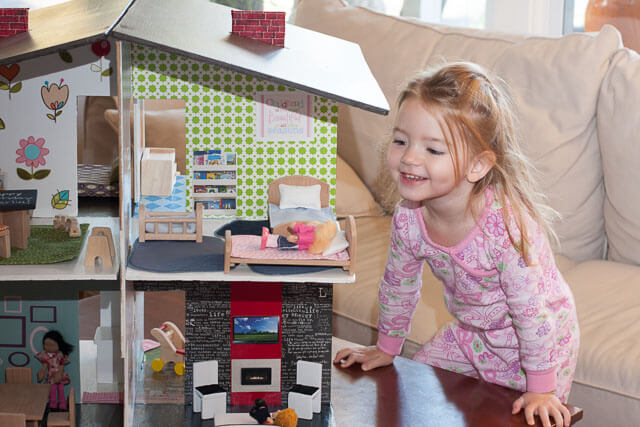
When she woke up that morning, we had it on the coffee table for her to come and discover. Watching her excitement was so much fun…I’d do anything for that dimpled smile!
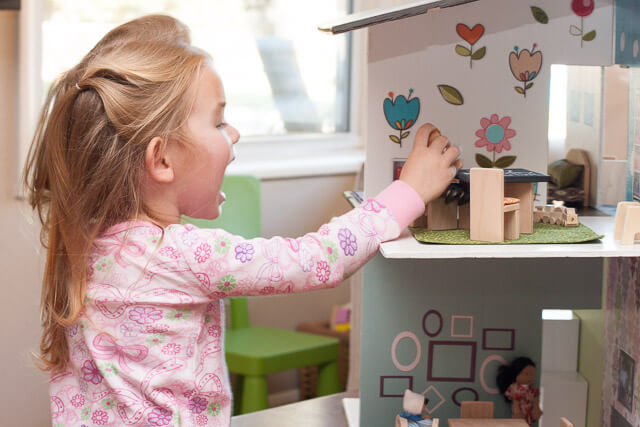
She immediately identified everyone and dove into a make-believe story.
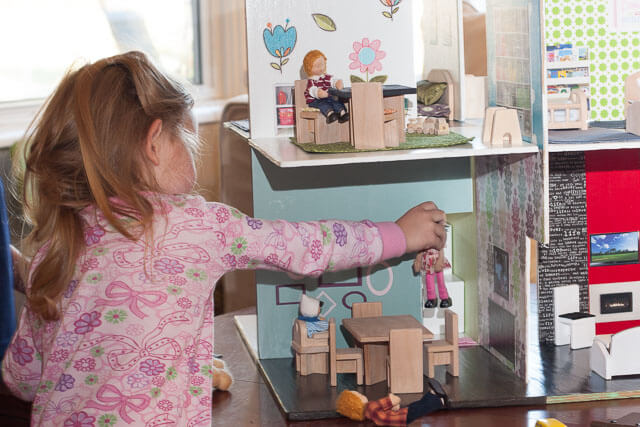
Nothing like breathing life into a 30 year old toy…so worth it!

And now for the Grand Tour…
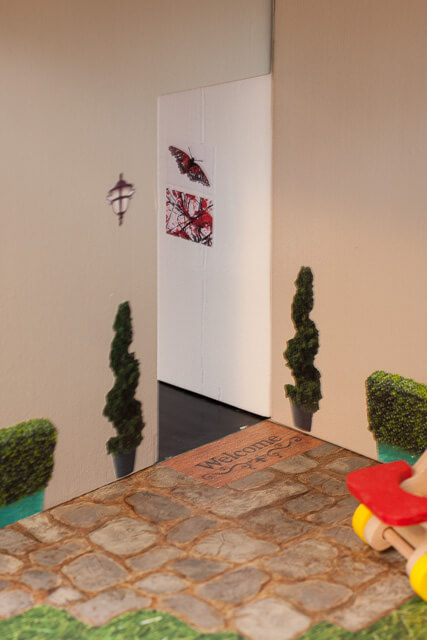
The front yard and entryway, complete with lawn and welcome mat.
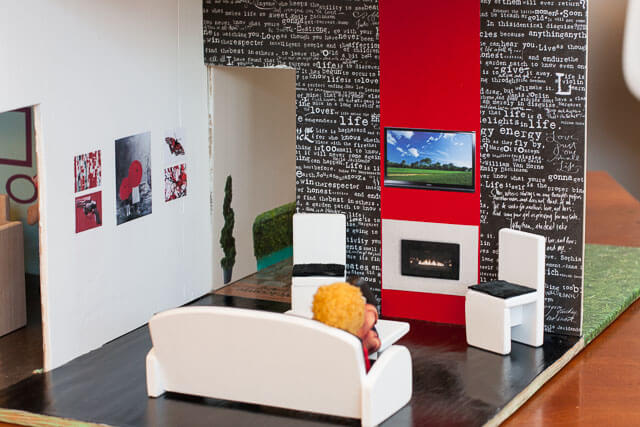
You enter into a black, red and white living room…I love so many things about this room. The fun art, the text on the wall, the leather couch and the shiny black floor…all the things I could never swing in my own house, but are perfect for the dollhouse.

I added our own family portrait and a frame wall similar to the one in our real house to the dining room. Kyle did a great job with the table and chairs.

The final room on the 1st floor is the kitchen. Initially, I started to do this room super trendy and sophisticated. Then I remembered it was for a 3yo, who doesn’t care about Houzz trends, and so settled on bright and fun instead.

Upstairs is the bedroom for the kids. They share, just like in real life. I wanted it to be playful and bright, and not totally girly.

The “master” is across from the kids’ room and houses the 2nd fireplace. Woody wanted to know why I put a fireplace in that room if our bedroom didn’t have one…I told Kyle in a not-so-subtle way that maybe for the sake of the dollhouse realism, we should get one. 🙂

I had so much fun picking out the Rubber Ducky art for the bathroom!

And, of course, we needed a Playroom/Schoolroom. Happy Birthday, Jessie. I know you’re enjoying it, and I hope that when you’re grown, you have as many fond memories with the dollhouse as I do.
-
Dr. Seuss Cat Birthday Cakes
Like I mentioned last week, one of our Family Traditions is Birthday Cakes. The kids get to pick out the subject/theme and I do my best to create a cake that lives up to their hopes. Jessie and Buzz have birthdays only 2 days apart and this year we were coordinating birthday celebrations with a visit from Grandpa Dan & Marmie, so we celebrated one on a Friday and the other on Saturday.

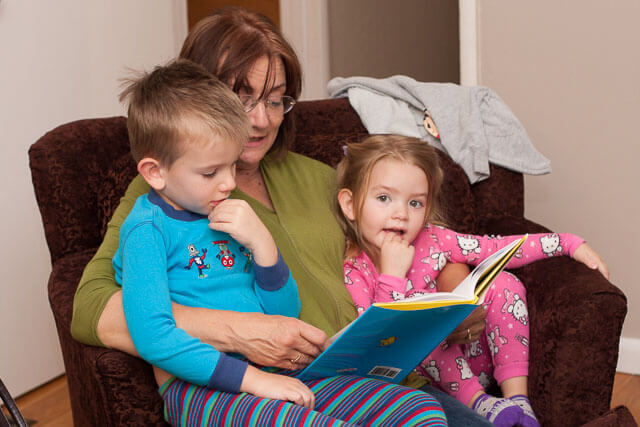
For her 3rd birthday, Jessie wanted a pink and purple cat cake. But since most of the 3D cat cakes I saw online looked fairly creepy, I decided the better route was a fun layer cake with cats on top.

Seeing her “cat cake” for the first time.

I made a 6 layer Neapolitan cake, using Sweetapolita as inspiration. I had my own favorite chocolate cake recipe, but used her strawberry and vanilla cakes. The vanilla cake was good, but the strawberry cake was OUT OF THIS WORLD! It’s made with real strawberries! So. Damn. Good.

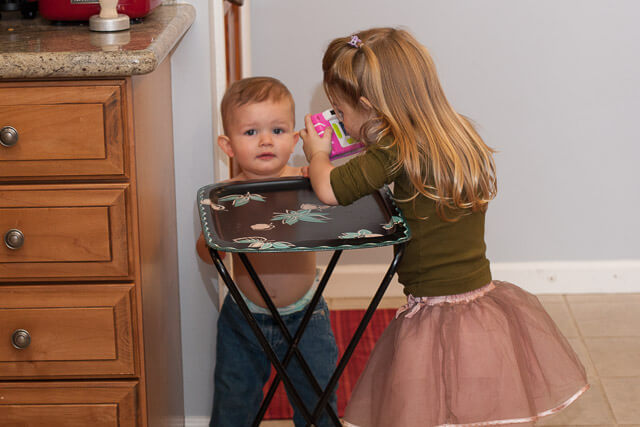
As a side note, Jessie got a camera for her birthday. Other than the floor, Buzz is her favorite subject. I have no idea where she learned to walk around sticking her camera in people’s faces. 😉
Buzz 1st Birthday party was a Cat in the Hat theme. We thought it was fitting since we actually announced his pregnancy with the help of Dr. Seuss, not to mention there are some ridiculously cute Cat in that Hat ideas on Pinterest.
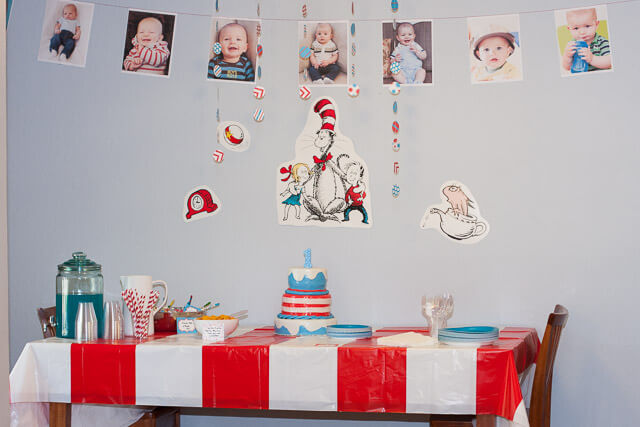

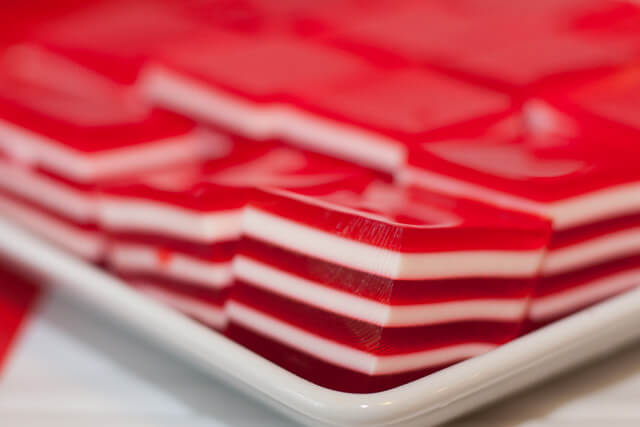
Having the two birthdays celebrated so close together worked really well for the actual cake baking. I ended up sharing cake batter and frosting between the two.

The bottom layer was more of our favorite chocolate cake, a 10″ round. Then the middle red and white section was a 4 layer strawberry and vanilla cake using an 8″ round, and then the top layer was more chocolate, a 6″ layer cake. For both cakes, I made my own marshmallow fondant. It’s so easy to make and so easy to work with, I can’t justify anything else.
Although, I do have a question, does marshmallow fondant sweat more easily than the kind you can buy? Or is that just the nature of fondant? I tend to have very sweaty cakes and I can’t quite figure out why. I’m sure some of it is just condensation as it comes out of the freezer, but I haven’t yet figured out a better way for keeping it cool (and safe from prying fingers) while I work on it, usually over 2-3 days. I’d really appreciate any tips as I have a feeling the kids’ ideas will only get bigger and grander over the years.

We had such a wonderful time with friends and family, celebrating our littlest man’s first year. Cakes are a tradition that help build excitement for the kids, with or without a party. They’re a bit of creative outlet for me and Kyle, who is the true artist of the family, always improves them with his ideas. I don’t know if you’ve been counting, but that was 2 strawberry cake recipes, 2 vanilla cake recipes, and 3 chocolate cake recipes in 48 hours! You can see now why I’m in the market for a treadmill.
Aren’t these two precious though? What great excuses to overload on sugar!