
DIY Collapsible Dollhouse Reveal
As promised in the BEFORE Post, this is the reveal of Jessie’s newly renovated collapsible dollhouse! After many hours of sanding, cutting, glueing, wall papering, painting, sewing, mod podging (and more mod podging)…it’s finished!
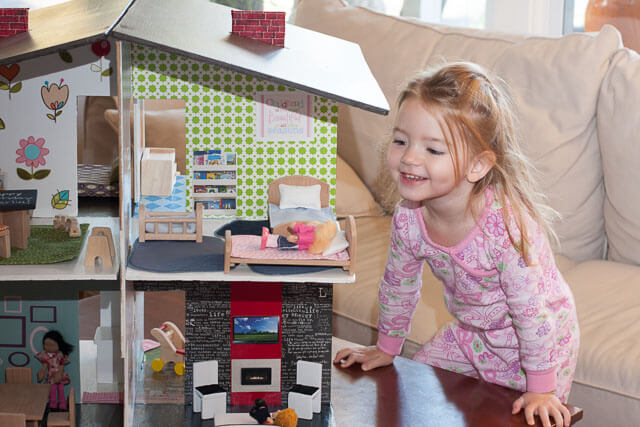
When she woke up that morning, we had it on the coffee table for her to come and discover. Watching her excitement was so much fun…I’d do anything for that dimpled smile!
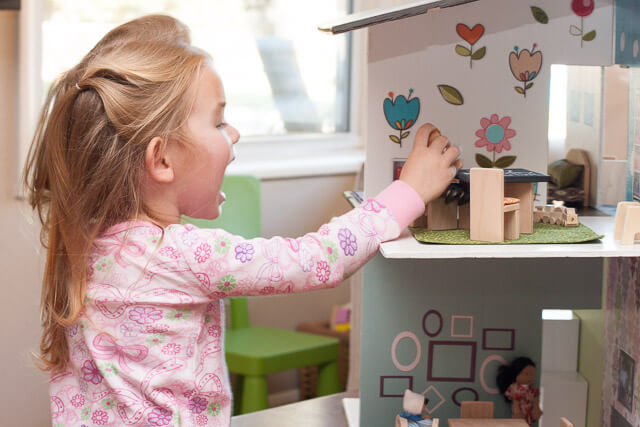
She immediately identified everyone and dove into a make-believe story.
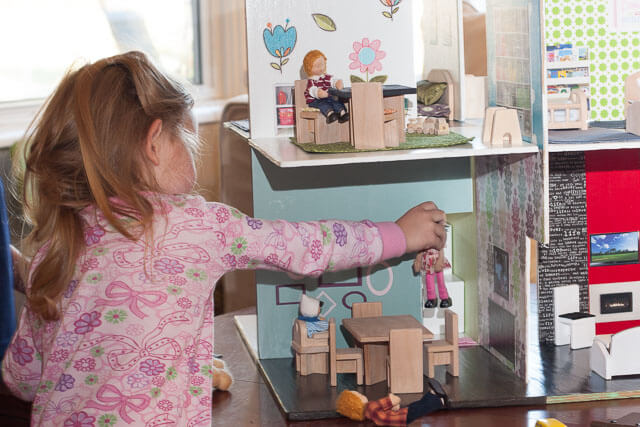
Nothing like breathing life into a 30 year old toy…so worth it!

And now for the Grand Tour…
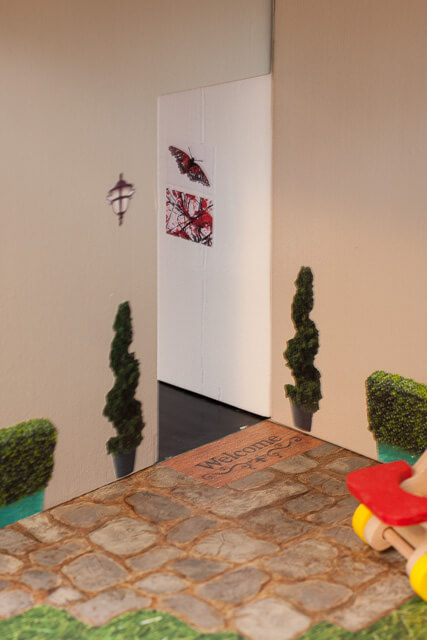
The front yard and entryway, complete with lawn and welcome mat.
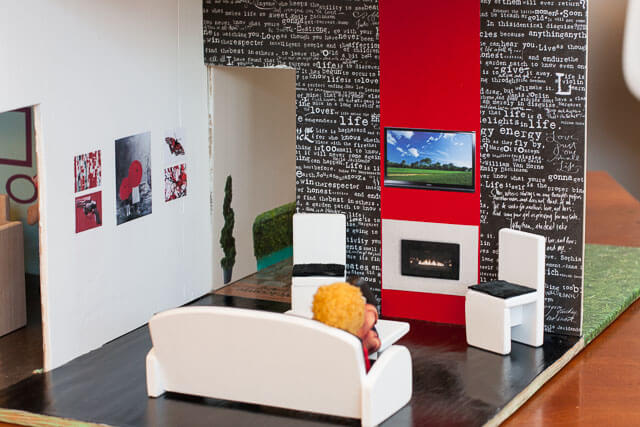
You enter into a black, red and white living room…I love so many things about this room. The fun art, the text on the wall, the leather couch and the shiny black floor…all the things I could never swing in my own house, but are perfect for the dollhouse.

I added our own family portrait and a frame wall similar to the one in our real house to the dining room. Kyle did a great job with the table and chairs.

The final room on the 1st floor is the kitchen. Initially, I started to do this room super trendy and sophisticated. Then I remembered it was for a 3yo, who doesn’t care about Houzz trends, and so settled on bright and fun instead.

Upstairs is the bedroom for the kids. They share, just like in real life. I wanted it to be playful and bright, and not totally girly.

The “master” is across from the kids’ room and houses the 2nd fireplace. Woody wanted to know why I put a fireplace in that room if our bedroom didn’t have one…I told Kyle in a not-so-subtle way that maybe for the sake of the dollhouse realism, we should get one. 🙂

I had so much fun picking out the Rubber Ducky art for the bathroom!

And, of course, we needed a Playroom/Schoolroom. Happy Birthday, Jessie. I know you’re enjoying it, and I hope that when you’re grown, you have as many fond memories with the dollhouse as I do.


